Unique planner/notebook cover
What you'll need:
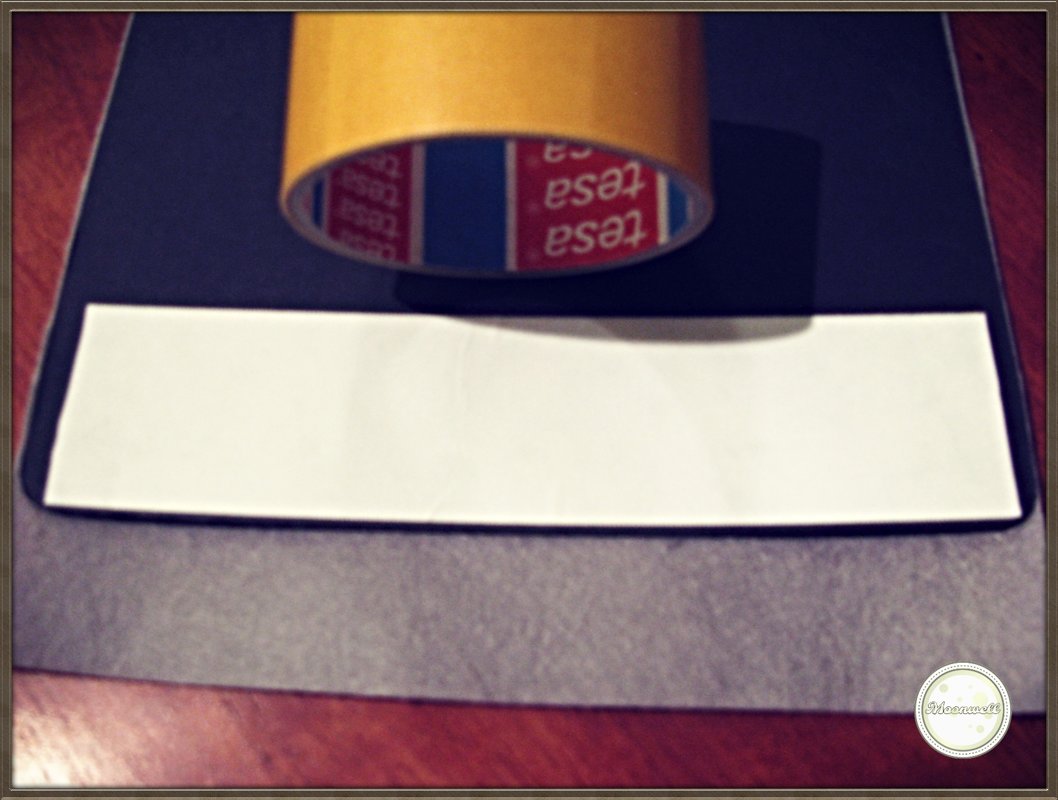
- Double-sided tape
- Glue
- Ruler, scissors
- Felt in your colour of choice
- Thin leather strip in your colour of choice
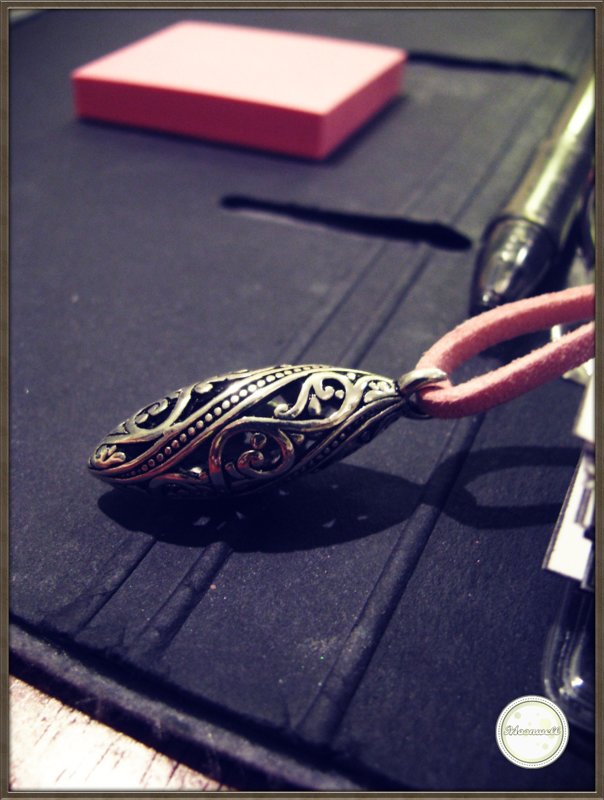
- Optional: Small charms, mini wooden clothespins

How to make it:
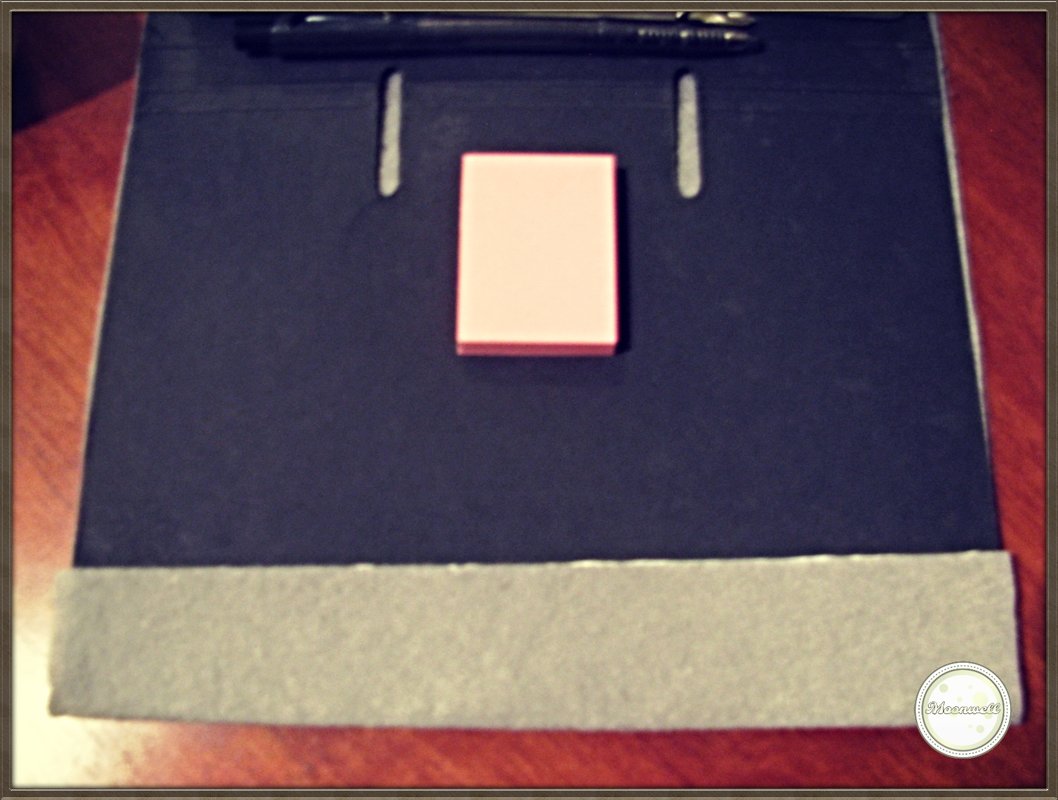
- Cut out a piece from the felt, the size of your open planner, plus leave an inch on both sides. Also make sure there's enough of the felt left to close your planner. On the top and the bottom adjust the felt to the edge of your planner.
- Open up your planner and put a piece of double sided tape on the outer edge of the inside of the cover, on both sides. Push the felt down on it, so it's nice and secure. On the other side, it's better to do it with the planner closed, so you know how much room it needs.
- You can adhere the felt on the entire surface too, but if you want it to be reversible, then adhere only the two sides.
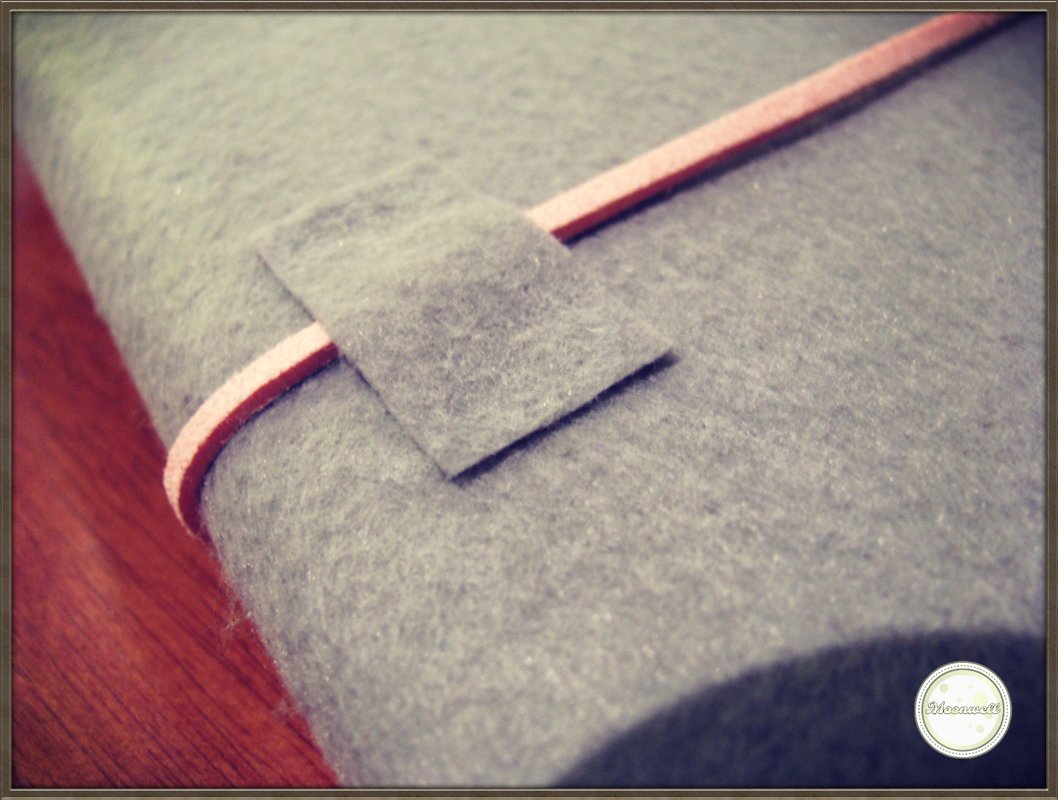
- Cut out a couple of pieces of felt (approx. 1 cm x 2-3 cm) and glue them on the front and the back cover to hold the "belt".
- Thread the leather strip through these, and then tie it so it holds your planner together. If you'd like, you can also add a charm or beads to the strip.
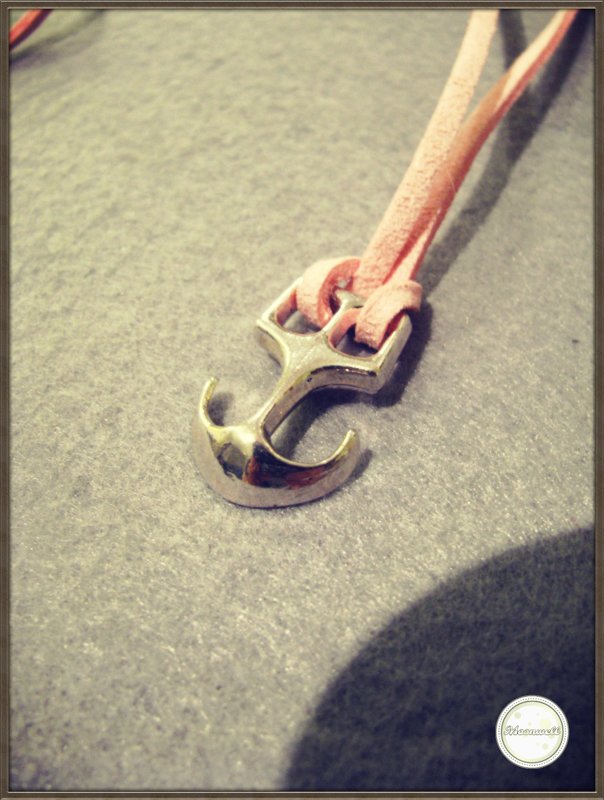
- If you want to add a bookmark to your planner, cut a piece of the leather strip that's a little bit longer than the vertical edge of your planner and glue it to the back of the planner (on the inside), or if you have a ring planner you can also tie it to the top ring. Adding a charm to the end of the bookmark is great, because the weight will pull the strip down nice and taut.
- If you'd like more bookmarks, you can use mini clothespins, that you can find in most stationery shops.

 |  |
 |  |
 |  |

